
The chatbot isn’t displayed until you enable it. You can take your time with configuration and training, then launch it when you’re ready.
Publicly launching your chatbot
Once you’re ready to display your chatbot publicly, visit the Resolver > Visibility menu and choose the Display option in the Display chatbot setting.
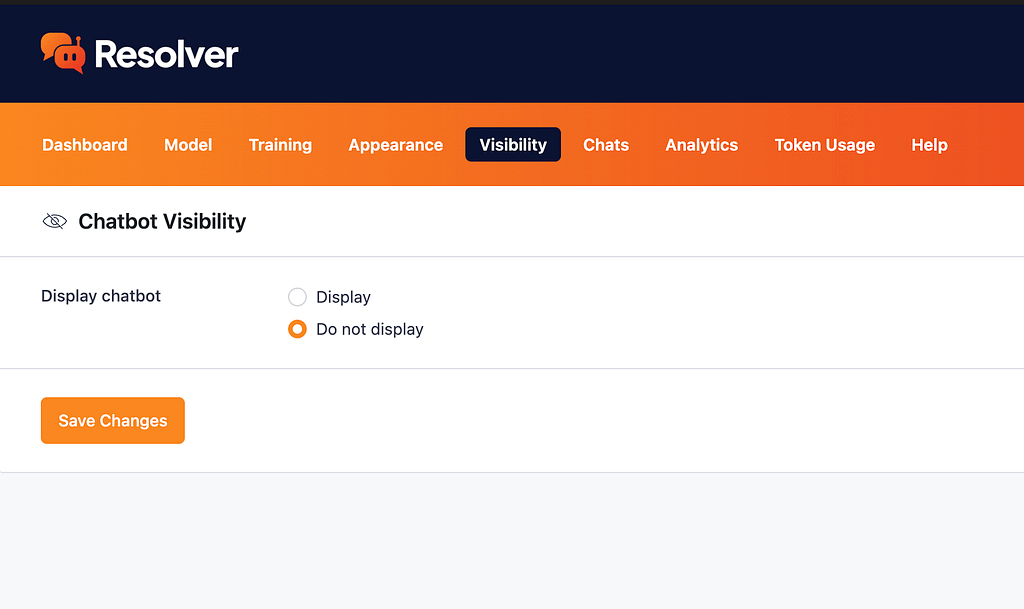
Click the Save Changes button, and the chatbot will appear across your entire website.
Excluding specific pages
If there are any pages you don’t want to show the chatbot on, you can use the search bar in the Exclude these pages setting to find and select them. The chatbot will not be displayed on the selected pages.
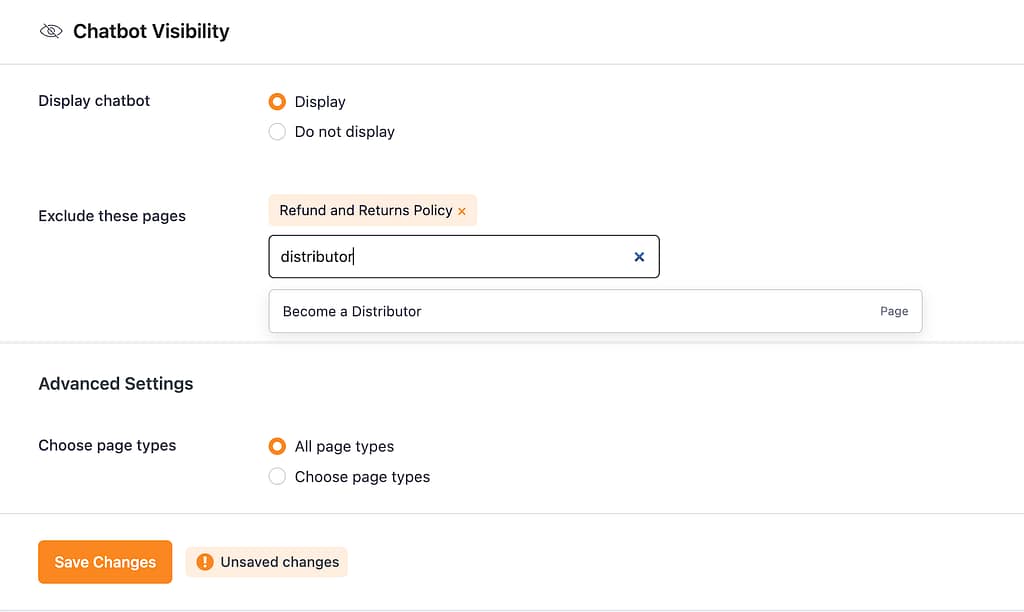
For most sites, this level of configuration is enough, but more advanced options are available.
Showing or hiding on specific page types
In the Advanced Settings, you can choose specific page types to hide/display the chatbot on. Select the Choose page types option, and a checkbox for each available page type will appear.

This allows you to show/hide the chatbot across entire sections of the site in just a few clicks. For instance, you could hide the chatbot on all of your blog posts or categories.
Always including a page
There may be a time when you want to make an exception to these rules. For example, you may want to hide the chatbot on your posts, except for one post in particular. This is a good time to use the Include these pages option.
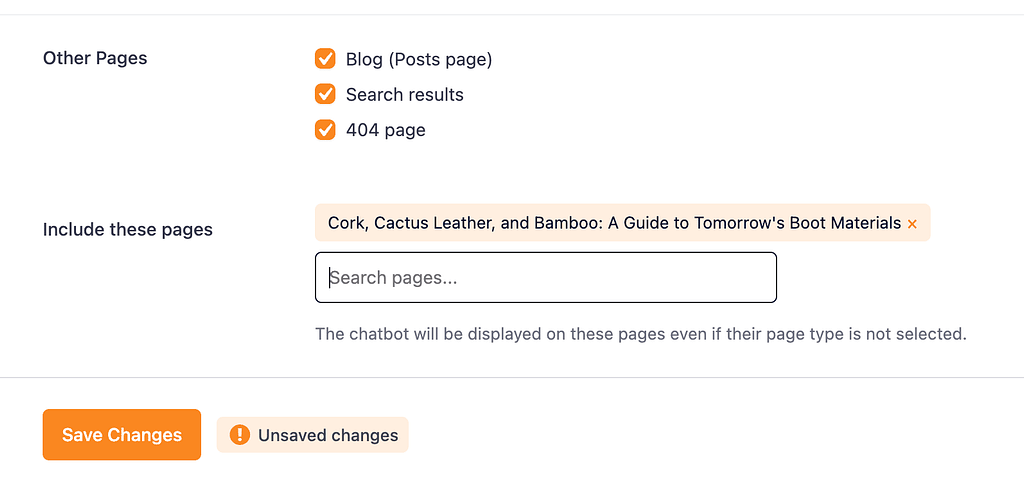
You can search for any page by name and select it to ensure the chatbot always displays on this page, even if its page type has been excluded.
With these granular visibility settings, you have full control over where the chatbot appears on your website.