
Resolver includes a variety of settings to customize and brand your chatbot.
Start by visiting the Appearance menu.
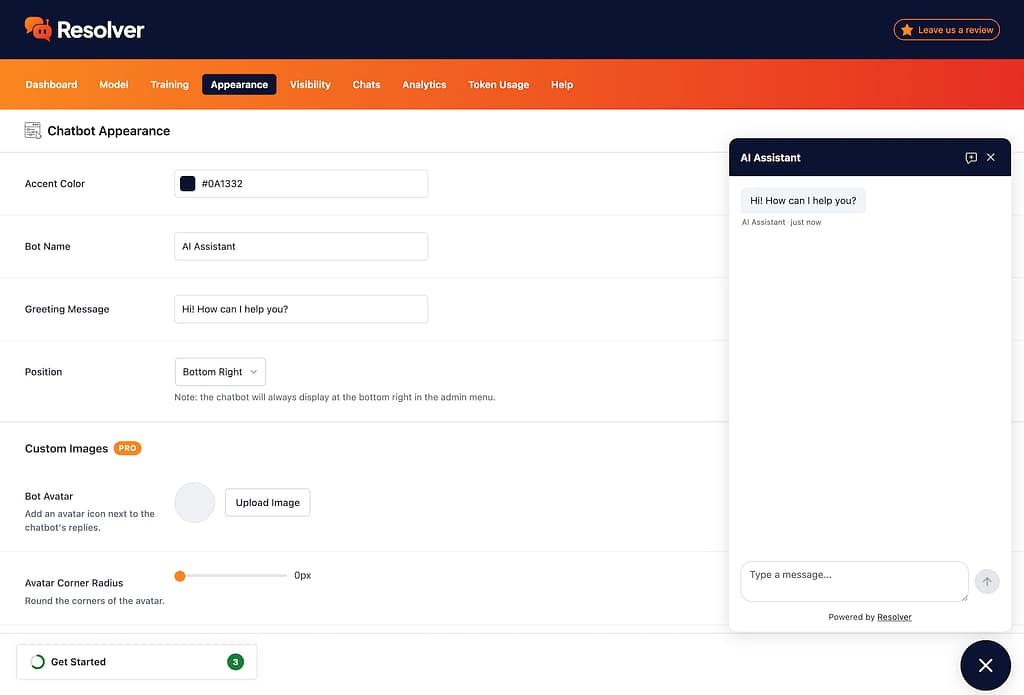
You’ll notice that the chatbot opens up automatically on this page, so you can easily preview your changes as you make them.
Edit the accent color
To change the chatbot’s color, click on the input next to the Accent Color option, and a color picker will appear.

You can use the built-in controls to pick a color for your chatbot, or paste in a hex code if you already have a specific color in mind. The chatbot widget will update in real time as you modify the color.
Change the name
Next, you can give your chatbot a unique name. This name shows up in the header of the chat widget and below each of the chatbot’s replies.
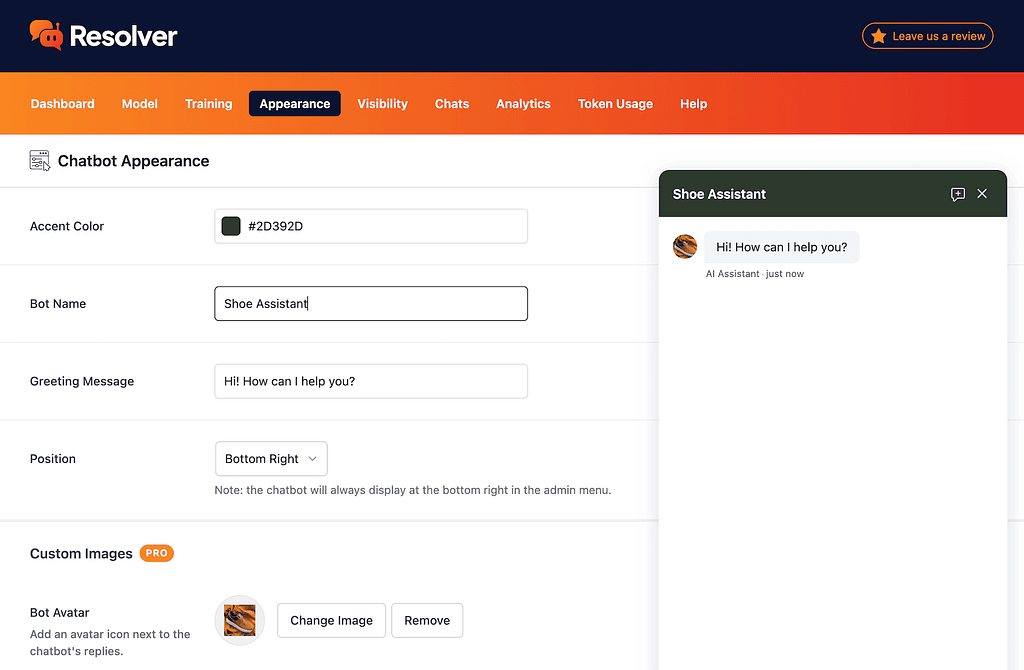
We recommend giving your chatbot a branded name, rather than just calling it an AI Assistant. It’s also best to include some notion that this is a chatbot and not a real person visitors are chatting with.
Customize the greeting
You can also customize the greeting message, which is the first message the chatbot sends at the start of a new conversation.
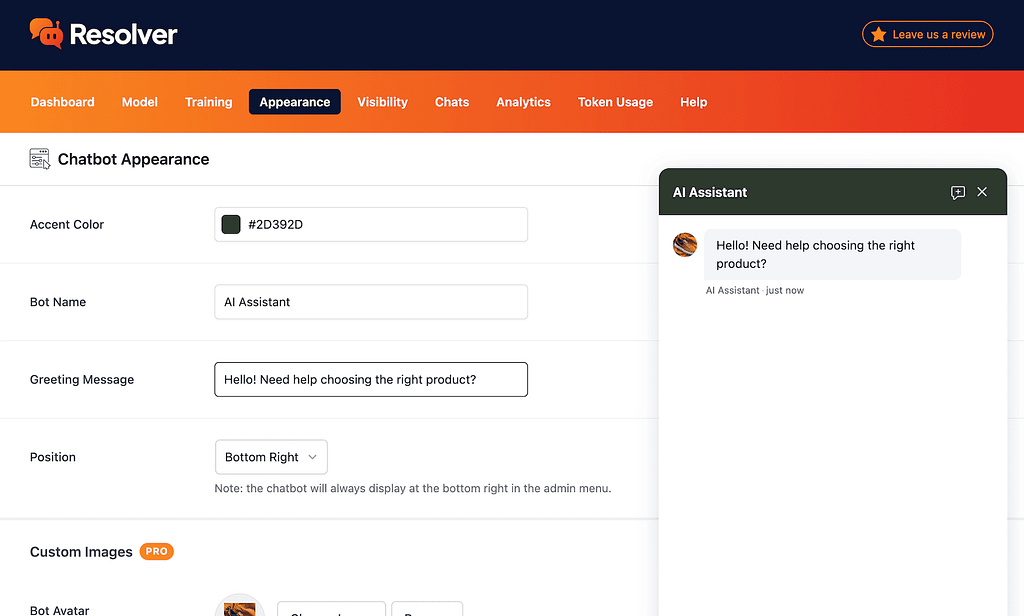
You can keep it fairly standard, or adjust it to match the specific goals of your chatbot.
Reposition the chatbot
Lastly, you have the option to move the chatbot to the bottom left corner of your website instead of the bottom right.
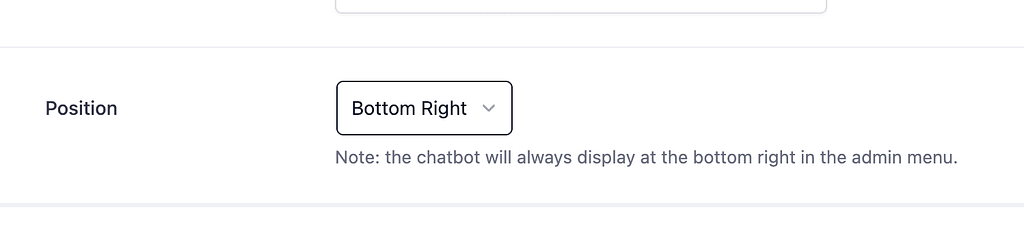
Please note that this doesn’t affect the chat widget shown in the admin dashboard, which always appears at the bottom right.
Customizing further with Resolver Pro
The Resolver Pro plugin includes additional options to customize your chatbot.
Upload an avatar
First, you can use the Bot Avatar setting to upload an avatar image for your chatbot.
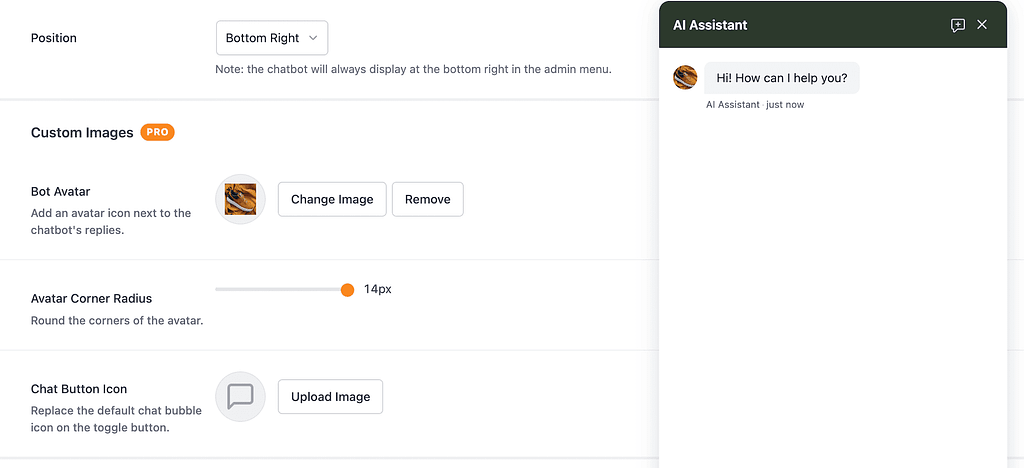
This is a powerful way to personify your chatbot and give it a stronger identity. You can upload a new image or select one already available in your Media Library.
You can also tweak the corner radius with the Avatar Corner Radius setting, which makes it easy to turn a square image into one with rounded corners or a full circle.
Replace the chat button icon
With the Chat Button Icon setting, you can change the icon displayed in the chat widget button before a visitor opens the full chat window.
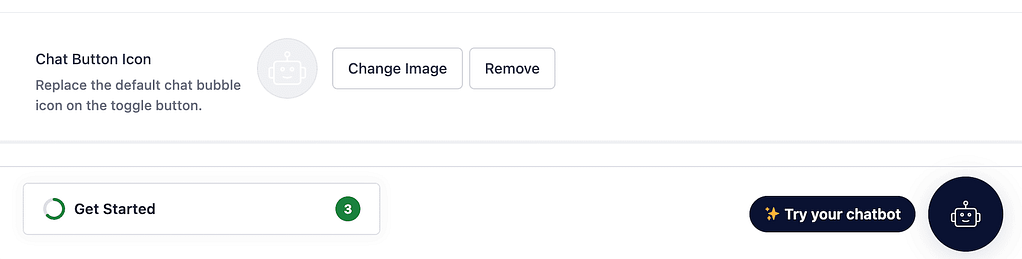
This can be a fun opportunity to add more style to your chatbot.
Remove the attribution link
Lastly, the Hide Attribution checkbox can be enabled to remove the link at the bottom of the chat widget that says, “Powered by Resolver.”
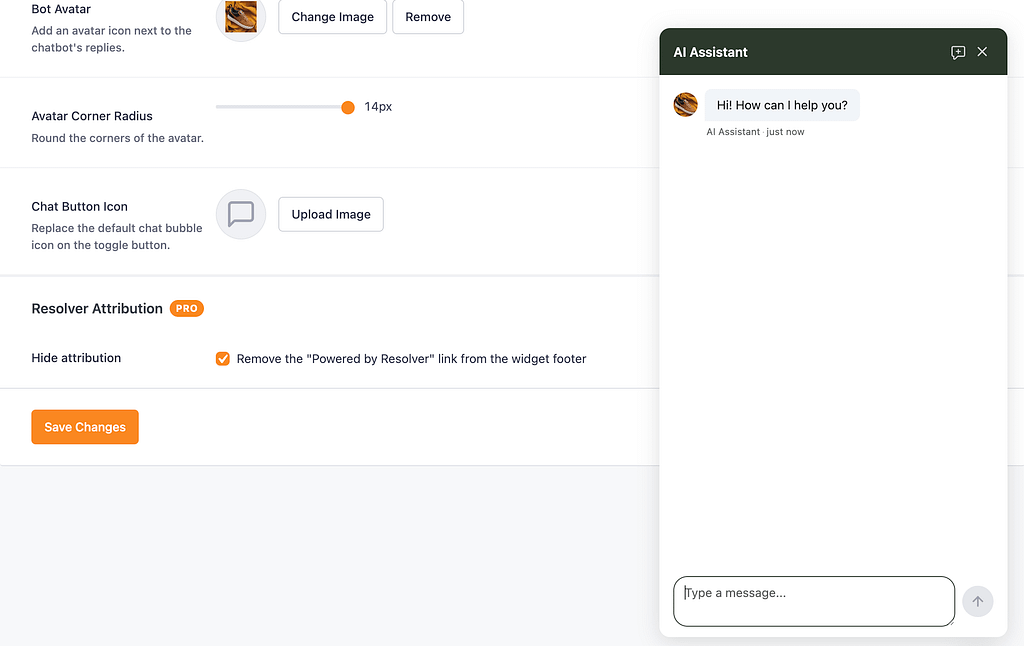
With these customization options, you can create a fully branded chatbot experience for your website.